Configure SSL for help center
Help center allows you to create a portal and add articles from the chatwoot app dashboard. You can point to these help center portal articles from your main site and display them as your public-facing help center. We provide SSL certificate for your help docs through our chatwoot domain.
How to get SSL certificate for your custom domain
Create a Portal in UniLink's dashboard
Let's create a product documentation portal for yourdomain.com, we will use this for the custom-domain docs.yourdomain.com
- Navigate to Help Center
- Click on "New Portal."
- Add basic information about your portal.
- Add a custom domain at which you want to serve your portal: e.g. yourdomain.com is your main site, and you want your portal at
docs.yourdomain.com, then this will be your custom domain. - Add portal name; this will be the heading of your portal
- slug is auto-generated
do not change it.
- Add customization information about the portal for theme color, page title, header text and homepage. This can match the theme and style on
yourdomain.com. - Your portal is ready with no articles. To add articles, click on the portal settings button and add new categories and add articles in the respective category.
Once these steps are completed, you will have a portal with articles ready.
Point your custom domain to chatwoot.help
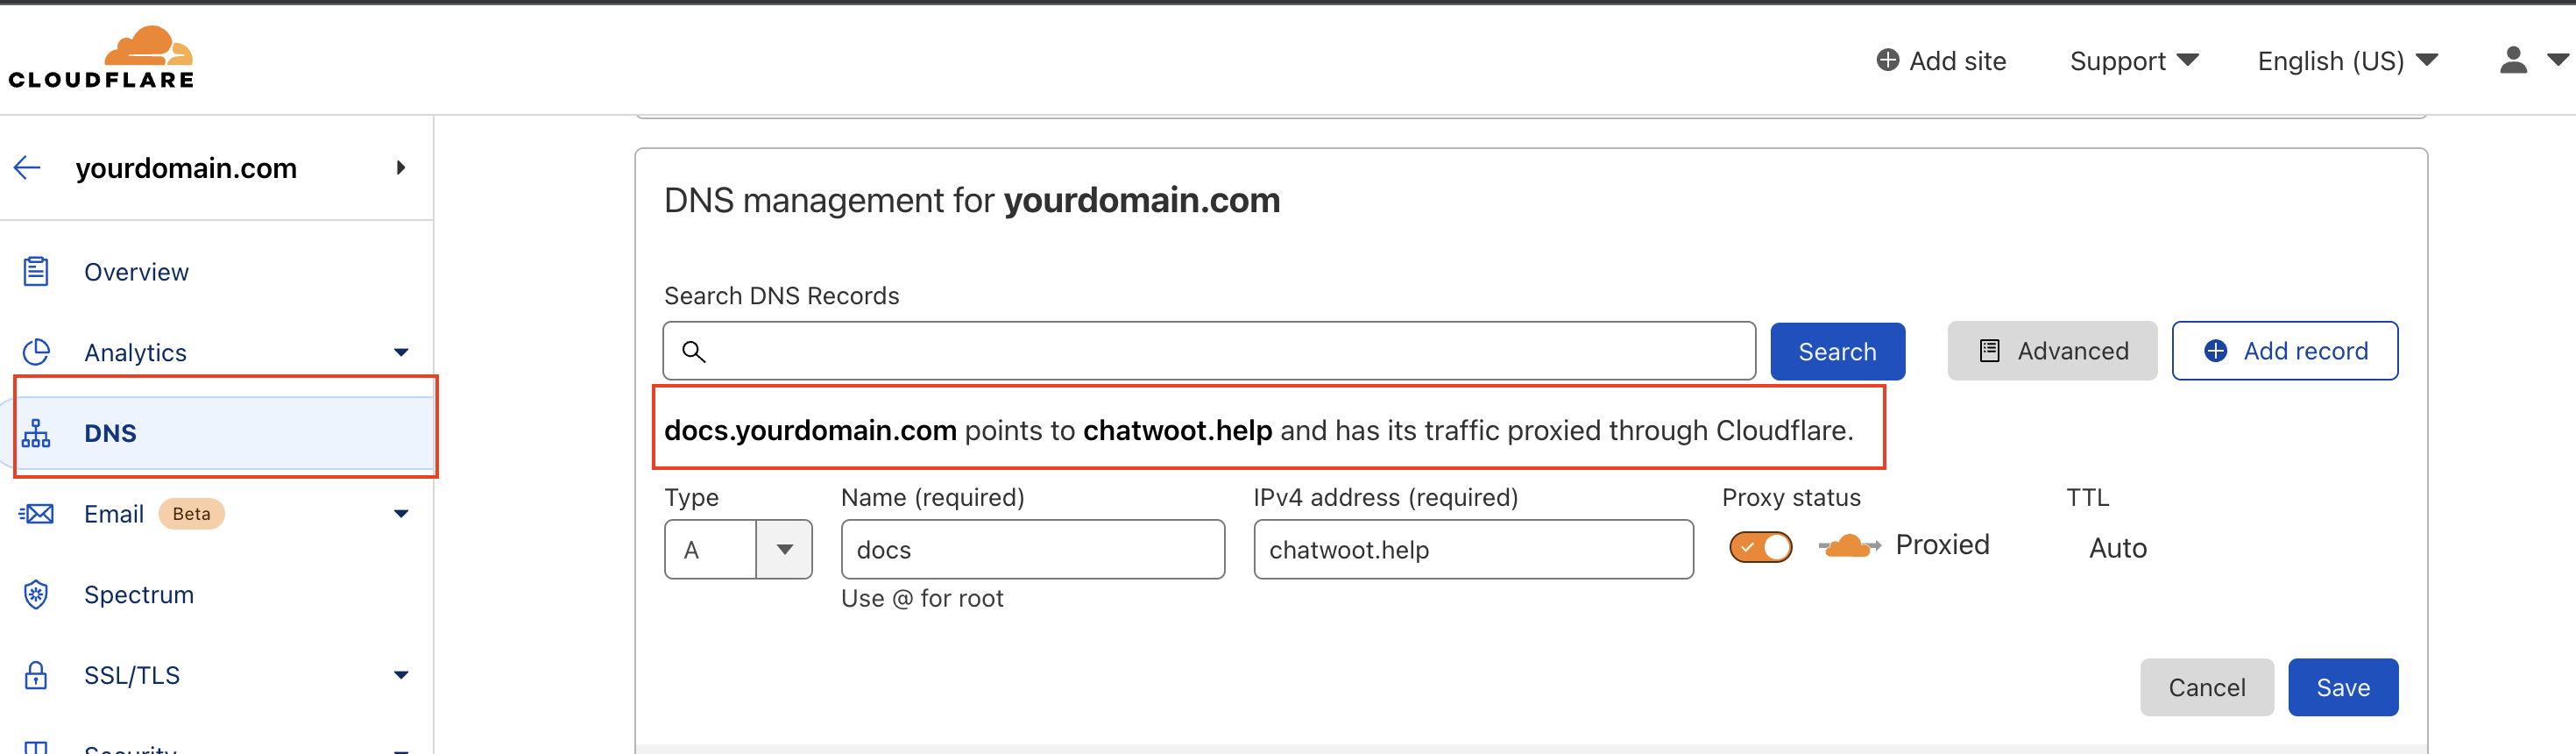
Go to your nameserver, go to its DNS settings and add a new CNAME record.
- For the above example, add docs as a CNAME record and point it to the chatwoot.help
- For the Cloudflare nameserver, please below the attached image for reference. It's under DNS tab.
- For the AWS nameserver, please see below-attached image for reference. It's under Route53 service.
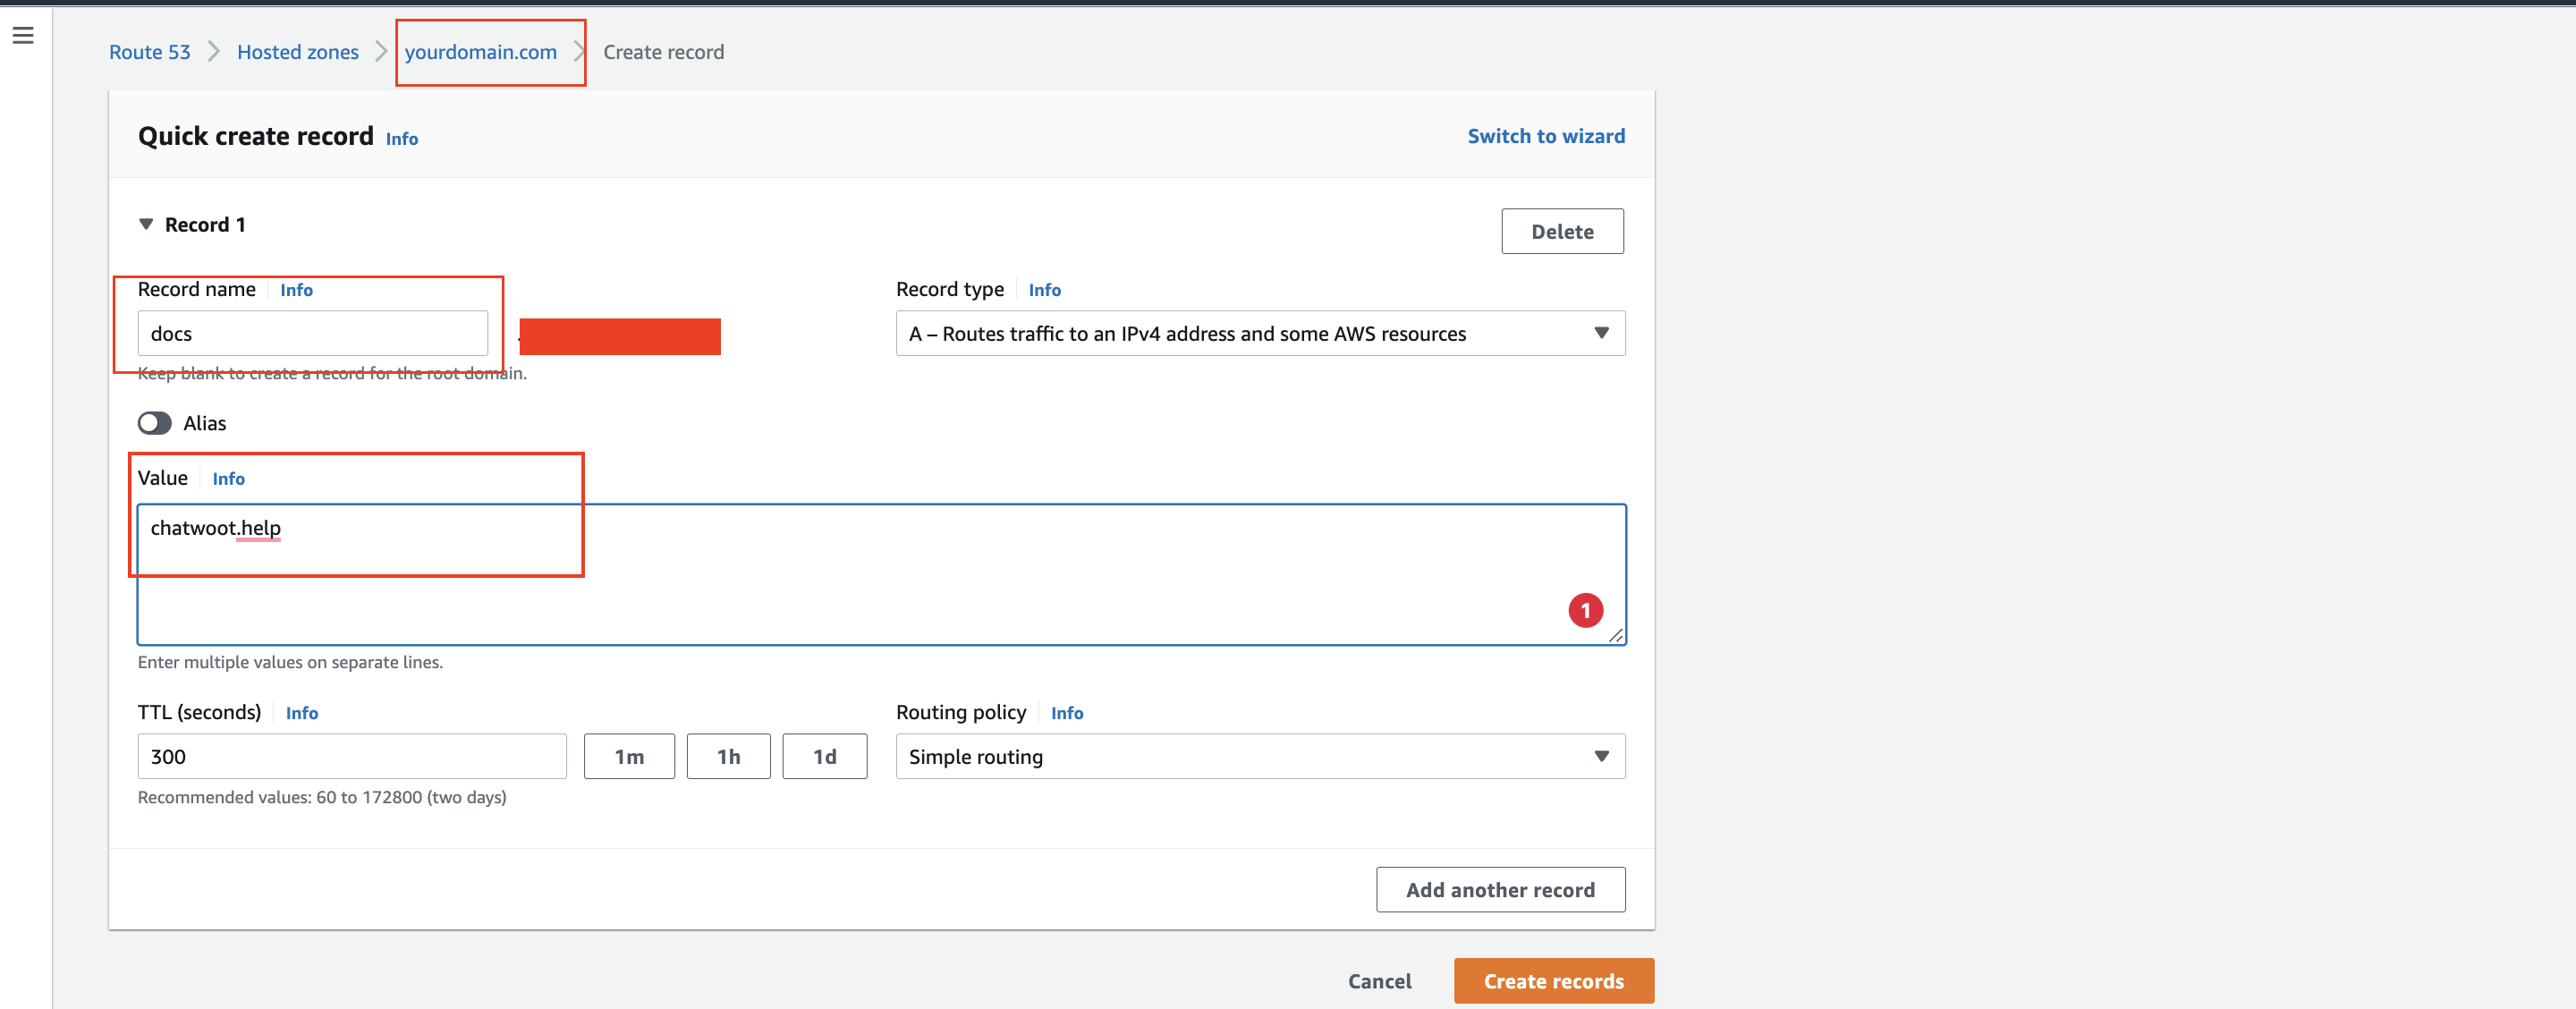
- If you have a different name server, these settings will be similar. Just go to the DNS settings and add a CNAME record. Or search for
How to add CNAME record with your nameserver?.
This will ensure that your CNAME record points to our server. For your custom domain, we have your portal information and the SSL certificate. In this case,
docs.example.com
Providing SSL
- This process is handled by chatwoot for all the cloud customers.
- You need to reach out to us through UniLink support with your portal custom domain record.
- Or please email us with the subject "Issue SSL certification for {Portal Slug}"
NOTE: This step will take 1/2 working day/s from the chatwoot team for the setup.
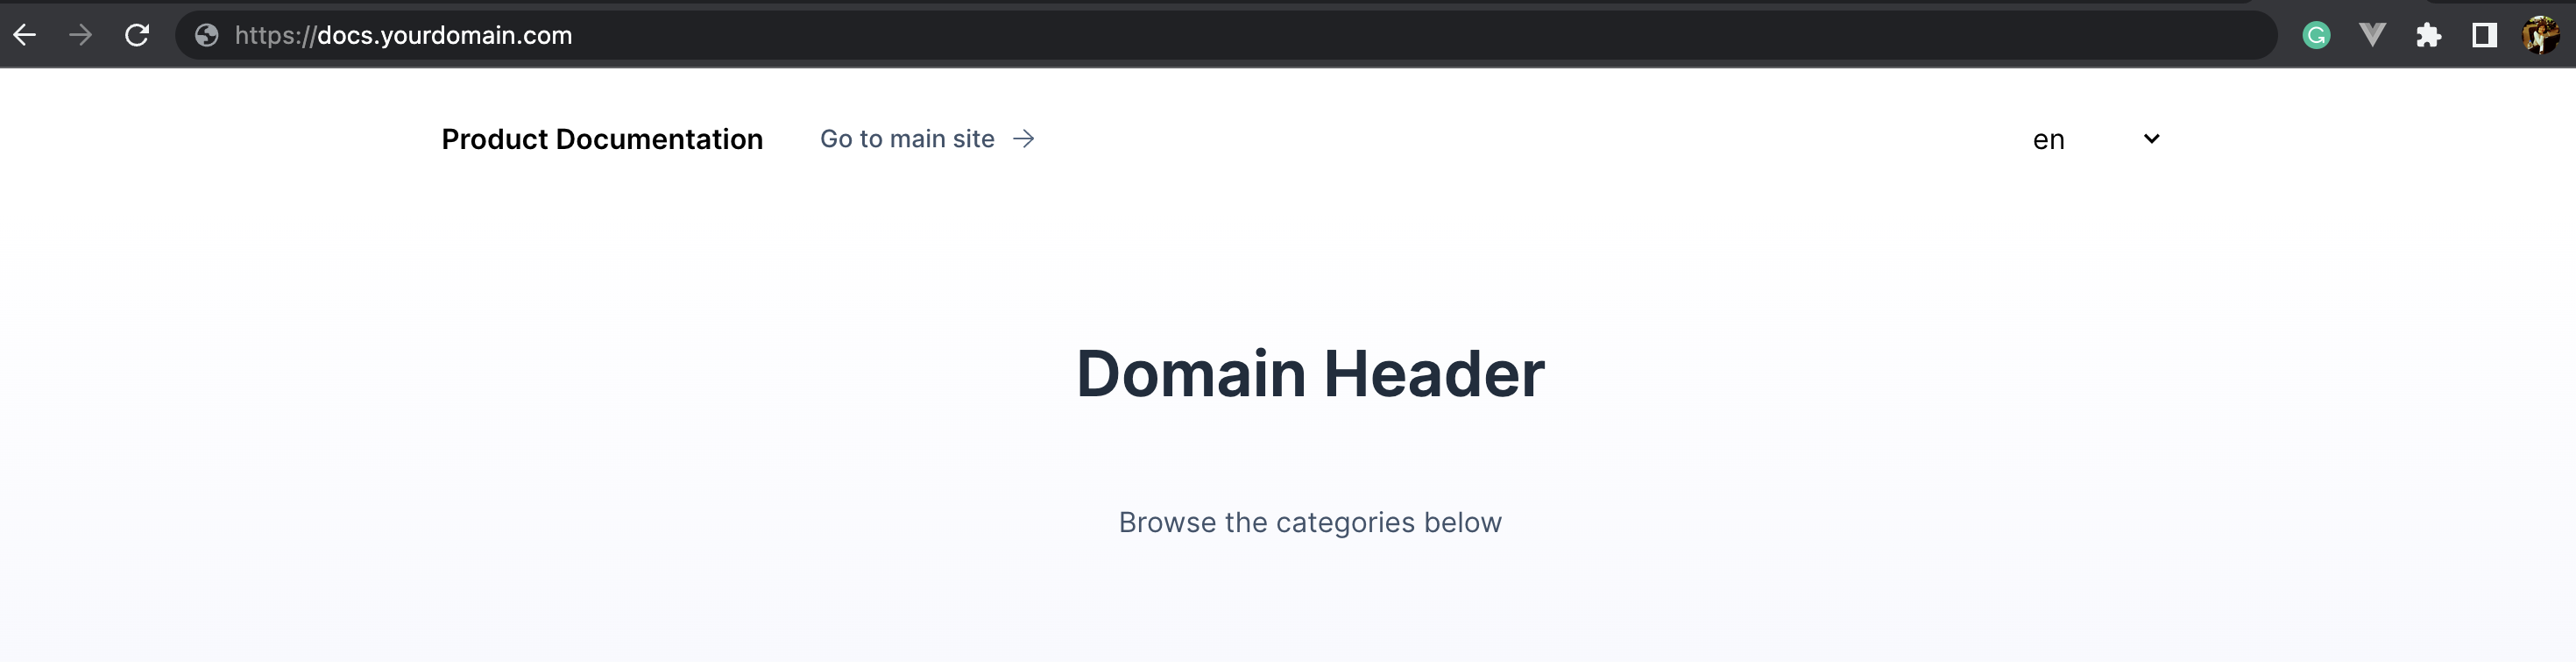
Voila!
docs.yourdomain.com is live with a secure connection, and your portal data is visible.
How does this work?
These are the engineering details to understand How does docs.yourdomain.com gets the portal data with SSL certificate.
- When the customer point docs.yourdomain.com to chatwoot.help through CNAME, DNS points it to our site, but it's not valid yet.
- Then Customer from the browser requests us to serve
docs.yourdomain.comendpoint with the portal's data. - To validate the routing from
docs.yourdomain.comtochatwoot.help, we add a record in our heroku.
- This is to validate Heroku DNS routing and validate the custom domain.
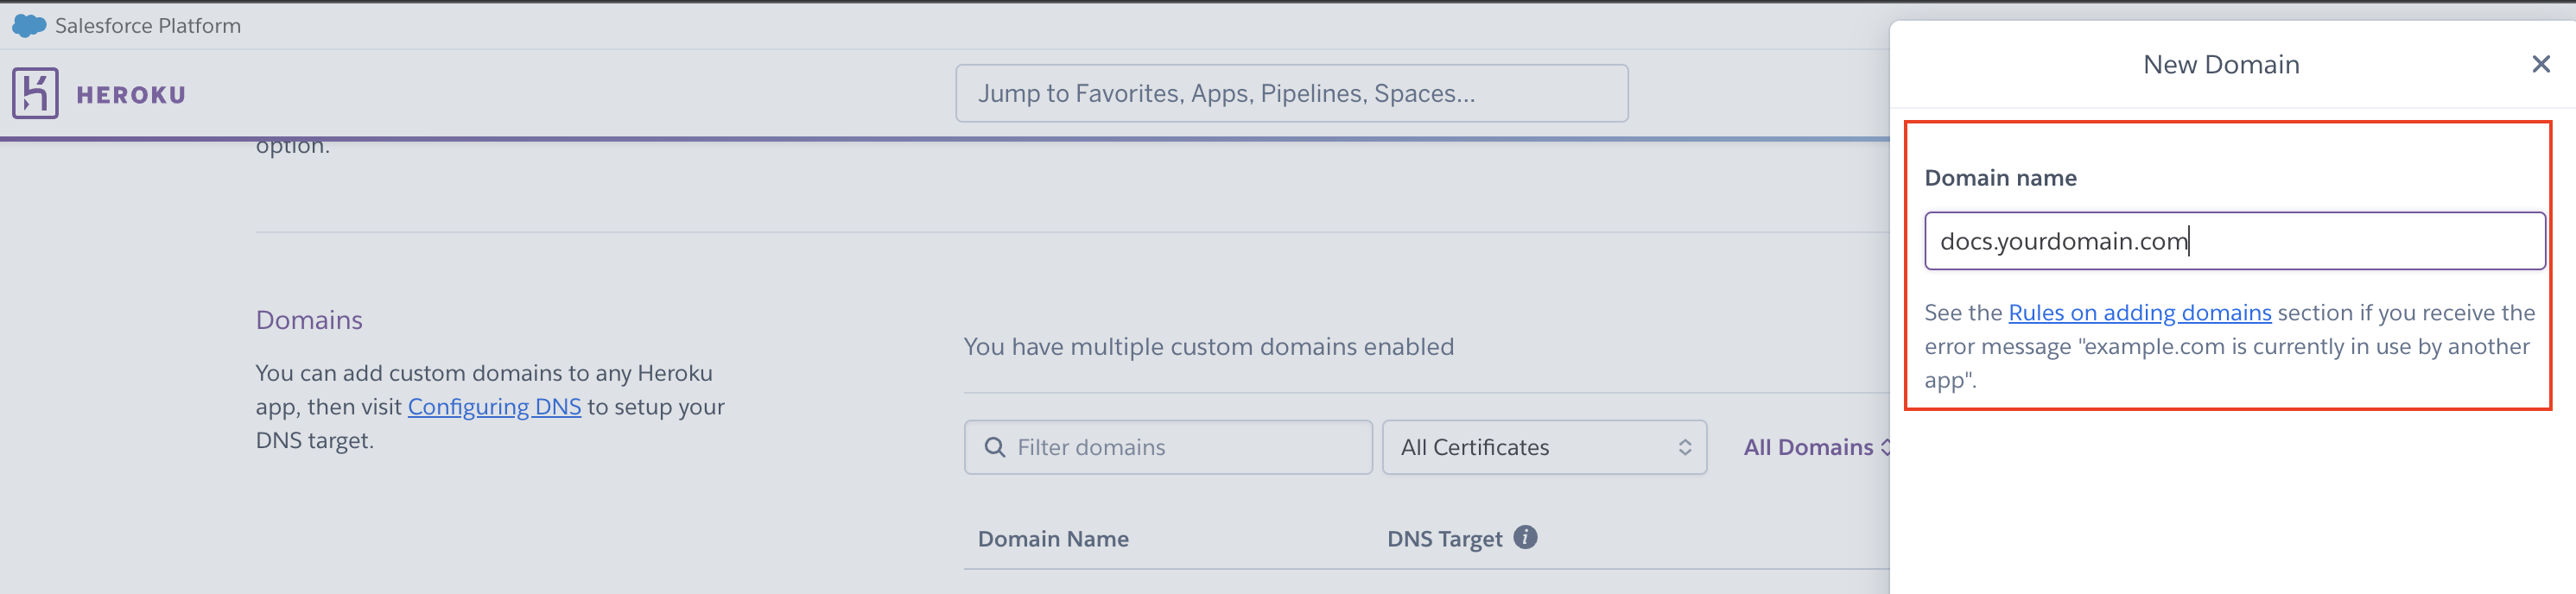
- Go to Heroku
dashboard -> UniLink -> Settings - Go to Domains section and add a new domain to serve, in this case,
docs.yourdomain.com
- After we add the domain successfully and ACM status will be waiting to verify the cert issue and will show an error later as SSL is not yet provided for the custom domain.

Heroku won't allow serving
docs.yourdomain.comuntil we provide the SSL certificate.For this, we go to our Cloudflare dashboard and certify the record for
docs.yourdomain.comGo to Cloudflare dashboard -> chatwoot.help
Go to SSL/TLS -> custom hostname
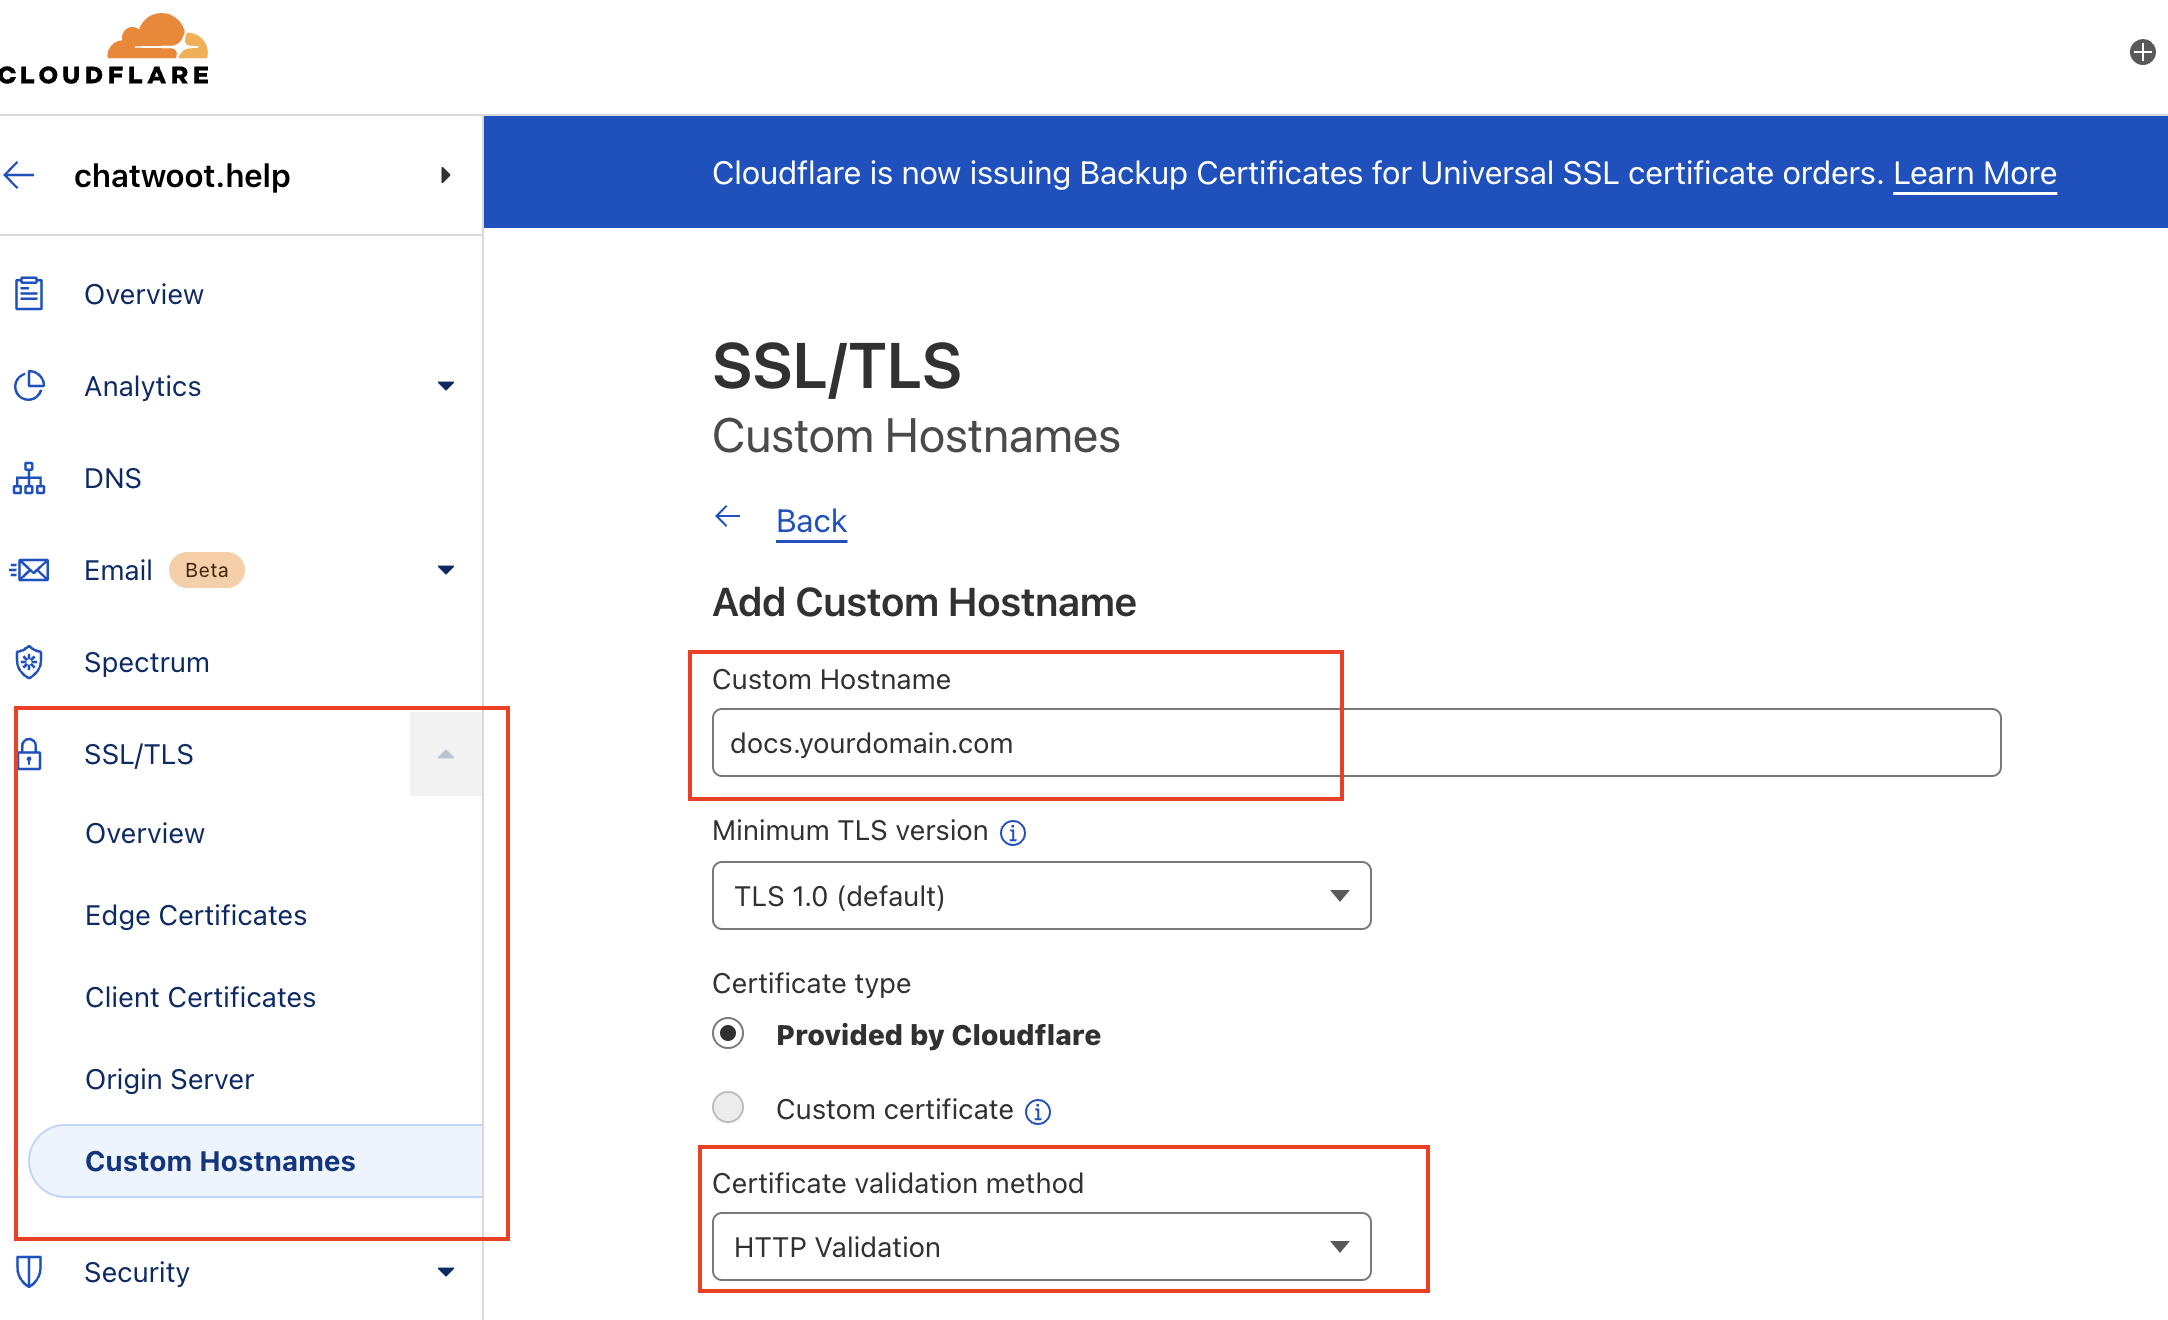
Add a record for docs.yourdomain.com, with certification validation method
HTTP Validationand certificate type `Provided by Cloudflare
Wait till the custom hostname reflects with SSL certificate active.
Go back to Heroku and check the ACM status for the
docs.yourdomain.comshowsOknow.
Cloudfare's custom hostname functionality provides the certificate to the custom domain that we add.
docs.yourdomain.comresolves by customers nameserver and redirects to chatwoot.help.chatwoot.helpnameserver certifies thedocs.yourdomain.com- UniLink's heroku domain's settings validate the certificate and routes to chatwoot.help root dashboard.
chatwoot.helpcheck for the portal record with custom-domaindocs.yourdomain.com- Redirects to the portal records for the domain
docs.yourdomain.com
Yaay!!
Now you can have your own help-center, product-documentation related portal saved at UniLink dashboard and served at your domain with SSL certificate.